
DJL Hello friends this time i will share "
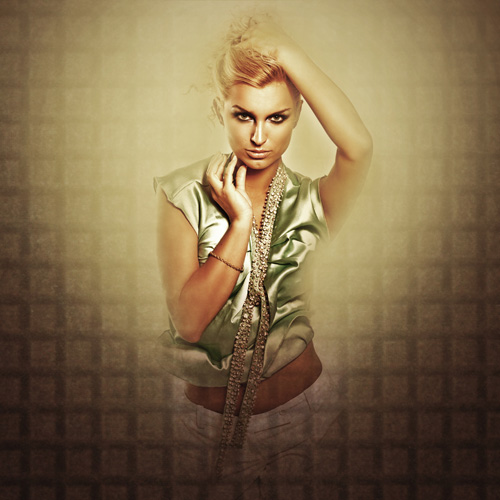
How Manipulation Photos with Photoshop CS5" result like the picture above just following the tutorial
Start working by creating a new document (
Ctrl+N) in
Adobe Photoshop CS5 with the size
1000px by
1000px (
RGB color mode) at a resolution of
72 pixels/inch.
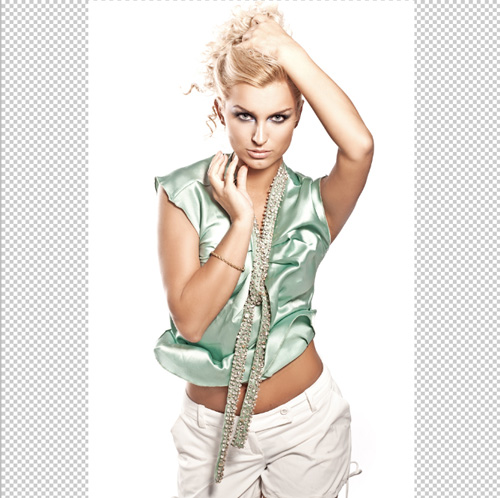
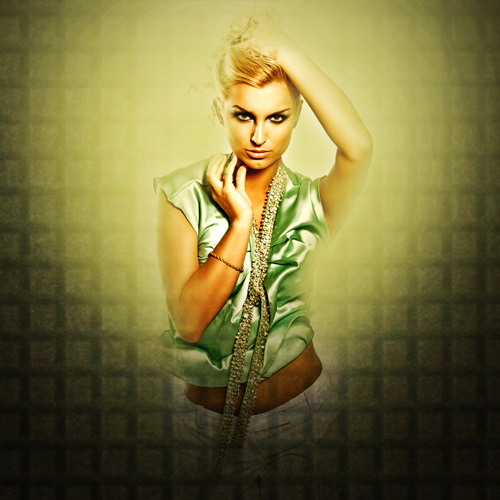
Find a stock photo with a model represented on it, I used this
photo from
Shutterstock. I would like to thank the
author of this photo, or if you prefer, you can subtitute similar image of your own. Insert the model photo in our main document.
 Create a new layer
 and choose the
Paint Bucket Tool (G) to fill it with
#CDD298 color.

Set the
Blending mode for this layer to
Color Burn.

Make a copy of the made layer and change the
Blending mode to
Normal. Insert the mask on the layer by choosing
Add layer mask on the bottom part of the
Layers panel and choose the
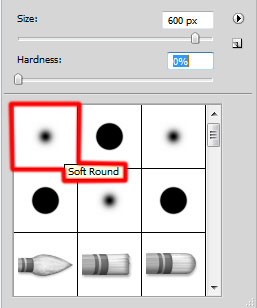
Soft Round brush of
black color.

Paint in the mask using this brush to clean out the edges, making visible the woman.
 Create a new layer
 and using the
Paint Bucket Tool (G) to fill it with
#433D29 color.

Insert the mask on the layer by choosing
Add layer mask on the bottom part of the
Layers panel and choose the
Soft Round brush of
black color.

Paint in the mask using this brush to hide the layer edges and making visible the woman.

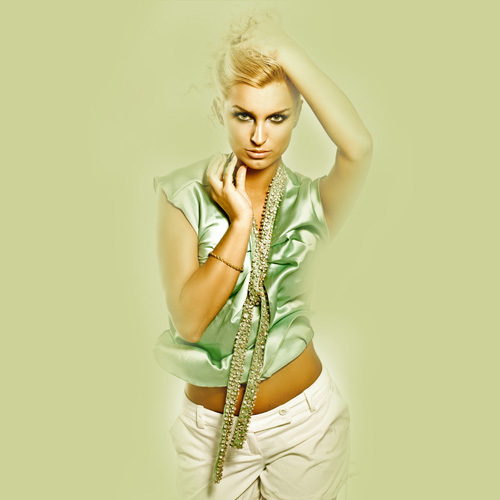
Click
Create new fill or adjustment layer from bottom part of the
Layers panel and click to
Curves to adjust the curve shape as shown to make a little color corrections.

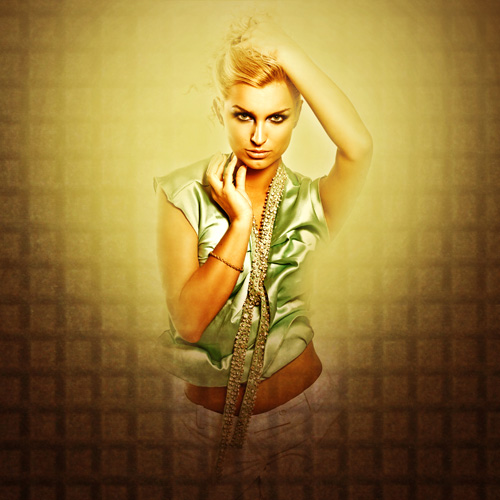
We’ve got the next result:
 Create a new layer
 and choose the
Soft Round brush from
Brush Tool (B).
Use this brush to represent a kind of spot on the woman. The brush has the color
#432D16.

Set
Fill to
43% for this layer and change the
Blending mode to
Color Dodge.

Next step we’ll insert on the main document the next texture (files for this tutorial are downloadable from
here):

Insert the mask on the layer by choosing
Add layer mask on the bottom part of the
Layers panel and choose the
Soft Round brush of
black color (set
Opacity to
60% in
Options bar).

Paint in the mask using this brush to hide the middle part of the texture and make visible the woman’s layer.

Set the
Blending mode for this layer to
Overlay.
 Create a new layer
 and select after that the
Paint Bucket Tool (G) to fill the layer with
#FF9268.

Set
Fill to
62% for this layer and change the
Blending mode to
Soft Light.
 Create a new layer
 and select the
Soft Round brush from
Brush Tool (B).

Use this brush to paint on the woman the indicated zones below. The brush’s color is
#3E3126 (brush’s
Opacity – 30%).

Set
Fill to
72% for this layer and change the
Blending mode to
Overlay.

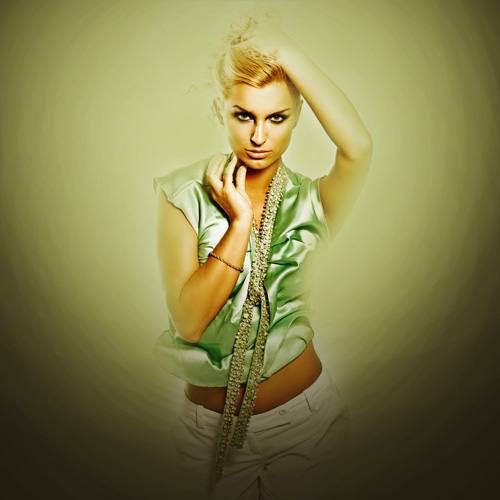
Click
Create new fill or adjustment layer from bottom part of the
Layers panel and select
Hue/Saturation. Drag the slider to the left to decrease the
Hue,
Saturation of the color range and drag the slider to the right to increase the
Lightness.

We’ve got the next result:
 Sumber Terkait